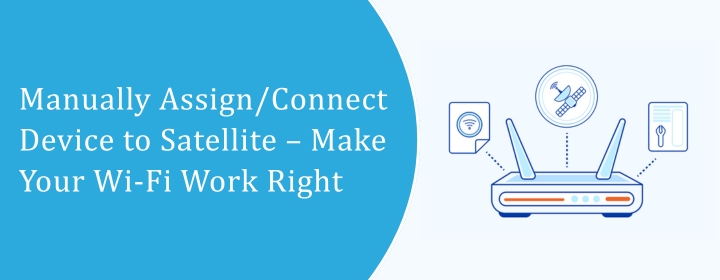
Manually Assign/Connect Device to Satellite – Make Your Wi-Fi Work Right
Have you ever come across a problem when your device was not able to connect to the wifi? Even when both were placed in the same room. I know I have. It’s one of those small but frustrating things that can make your smart home or home office feel like it’s constantly playing hide and seek with your internet. That’s why learning how to manually assign/connect a device to a satellite can be a real game-changer.
I’ve spent hours figuring this out myself – moving around with my laptop, checking signals, and sometimes just staring at blinking lights thinking, “Why won’t you pick the right satellite?!” If you’ve ever been there, you’ll get it.
Why Devices Don’t Always Connect Properly
Most mesh Wi-Fi systems are supposed to be smart. They detect the strongest signal and automatically pick the satellite closest to you. But honestly? That is no guarantee that it will always work.
You must have observed that your laptop or TV keeps connecting with the router, showing a weak signal in the room. Or maybe your phone is still connected to the old wifi, although it is placed in the same room.
That’s where knowing how to manually assign/connect a device to a satellite comes in handy. So, in simple words, you have to connect to the satellite forcefully to get the best connection. This is not something very technical; instead, it is simpler than it looks.
Step 1: Check Your Satellites
Before trying anything, make sure all your satellites are actually online. If it is not syncing with your main hub, your device won’t be able to connect.
- Open your mesh app or web dashboard.
- Make sure each satellite shows as “connected.”
- If one is offline, unplug it for 30 seconds, then plug it back in. Sometimes that’s all it needs.
- If one of those is offline, then unplug it for a few seconds and then plug it back in.
Step 2: Decide Which Device Needs Manual Assignment
You don’t have to manually assign every device. Instead, only that which is not getting connected. Maybe it is your laptop, your gaming console, or your streaming box. So it is important to choose one and connect that.
Step 3: Disconnect from Your Current Network
Here’s a trick a lot of people miss: your device usually remembers the old connection and automatically reconnects to it. Before it can pick a new satellite, you need to “forget” the old one.
- Go to your device’s Wi-Fi settings.
- Select the network it’s currently using.
- Tap “Forget” or “Disconnect.”
Now your device is free to find the satellite you want it to use.
Step 4: Move Closer to the Satellite
Though apparent, it is important. Your device normally connects to the strongest signal. If you’re near the main router, it may disregard the satellite.
Have several satellites? Unplug them momentarily. This ensures your device chooses correctly. Once steady, reconnect the others.
Step 5: Reconnect to Wi-Fi
Now, normally, reconnect to the network. Most mesh systems use the same network name for all satellites, so the app or dashboard is where you check which satellite your device is actually connected to.
If it shows “connected to satellite,” bingo! You’ve successfully manually assigned/connected your device to the satellite.
Step 6: Test the Connection
Give it a minute, then move around and check the connection. Open a video, browse, stream — whatever your device normally struggles with. It is really good if it is stable, but in case it is not, then it is due to the interference caused by walls, electronics, or the connectivity between your hub and satellite.
Step 7: Extra Tips
- Reboot the mesh system if things do not work properly. Power cycling both the satellites and the hub can fix a lot of random problems.
- Update firmware — seriously. Mesh devices often behave better after updates.
- If a device refuses to stay connected, sometimes plugging it into the satellite via Ethernet is the easiest solution.
Why This Matters
I’ve done this multiple times, and I can tell you – once your devices are properly connected to the right satellites, everything just feels faster. No more lag, fewer dropped connections, and honestly, less frustration.
Learning to manually assign/connect a device to a satellite isn’t just a tech trick. It’s a way to get your home network to behave the way you actually need it to. Especially if you rely on Netgear, knowing these small fixes can save lots of errors that you may come across.
Final Thoughts
So, next time your device keeps connecting with the wrong satellite, do not conclude that it is broken; instead, it is not able to connect due to varied options, creating confusion. So, to connect properly, you have to disconnect from all other connections that are available there. This certainly needs patience from your end to manually assign/connect a device to a satellite.
Once you have brought this into action, it will work naturally while improving the performance of your wifi. So, putting extra effort is always appreciated and worth trying.